Introduction
Restoring a wood stove is a rewarding endeavor, bringing back the charm and functionality of a classic piece of hearth equipment. Whether you’re a seasoned veteran or a novice in restoration, this guide will walk you through the fundamental steps to breathe new life into an old wood stove. Remember, restoring a stove involves more than just cleaning and painting; it’s about reviving and preserving its original essence.
Step 1: Selecting the Right Candidate
a. Identifying a Suitable Stove:
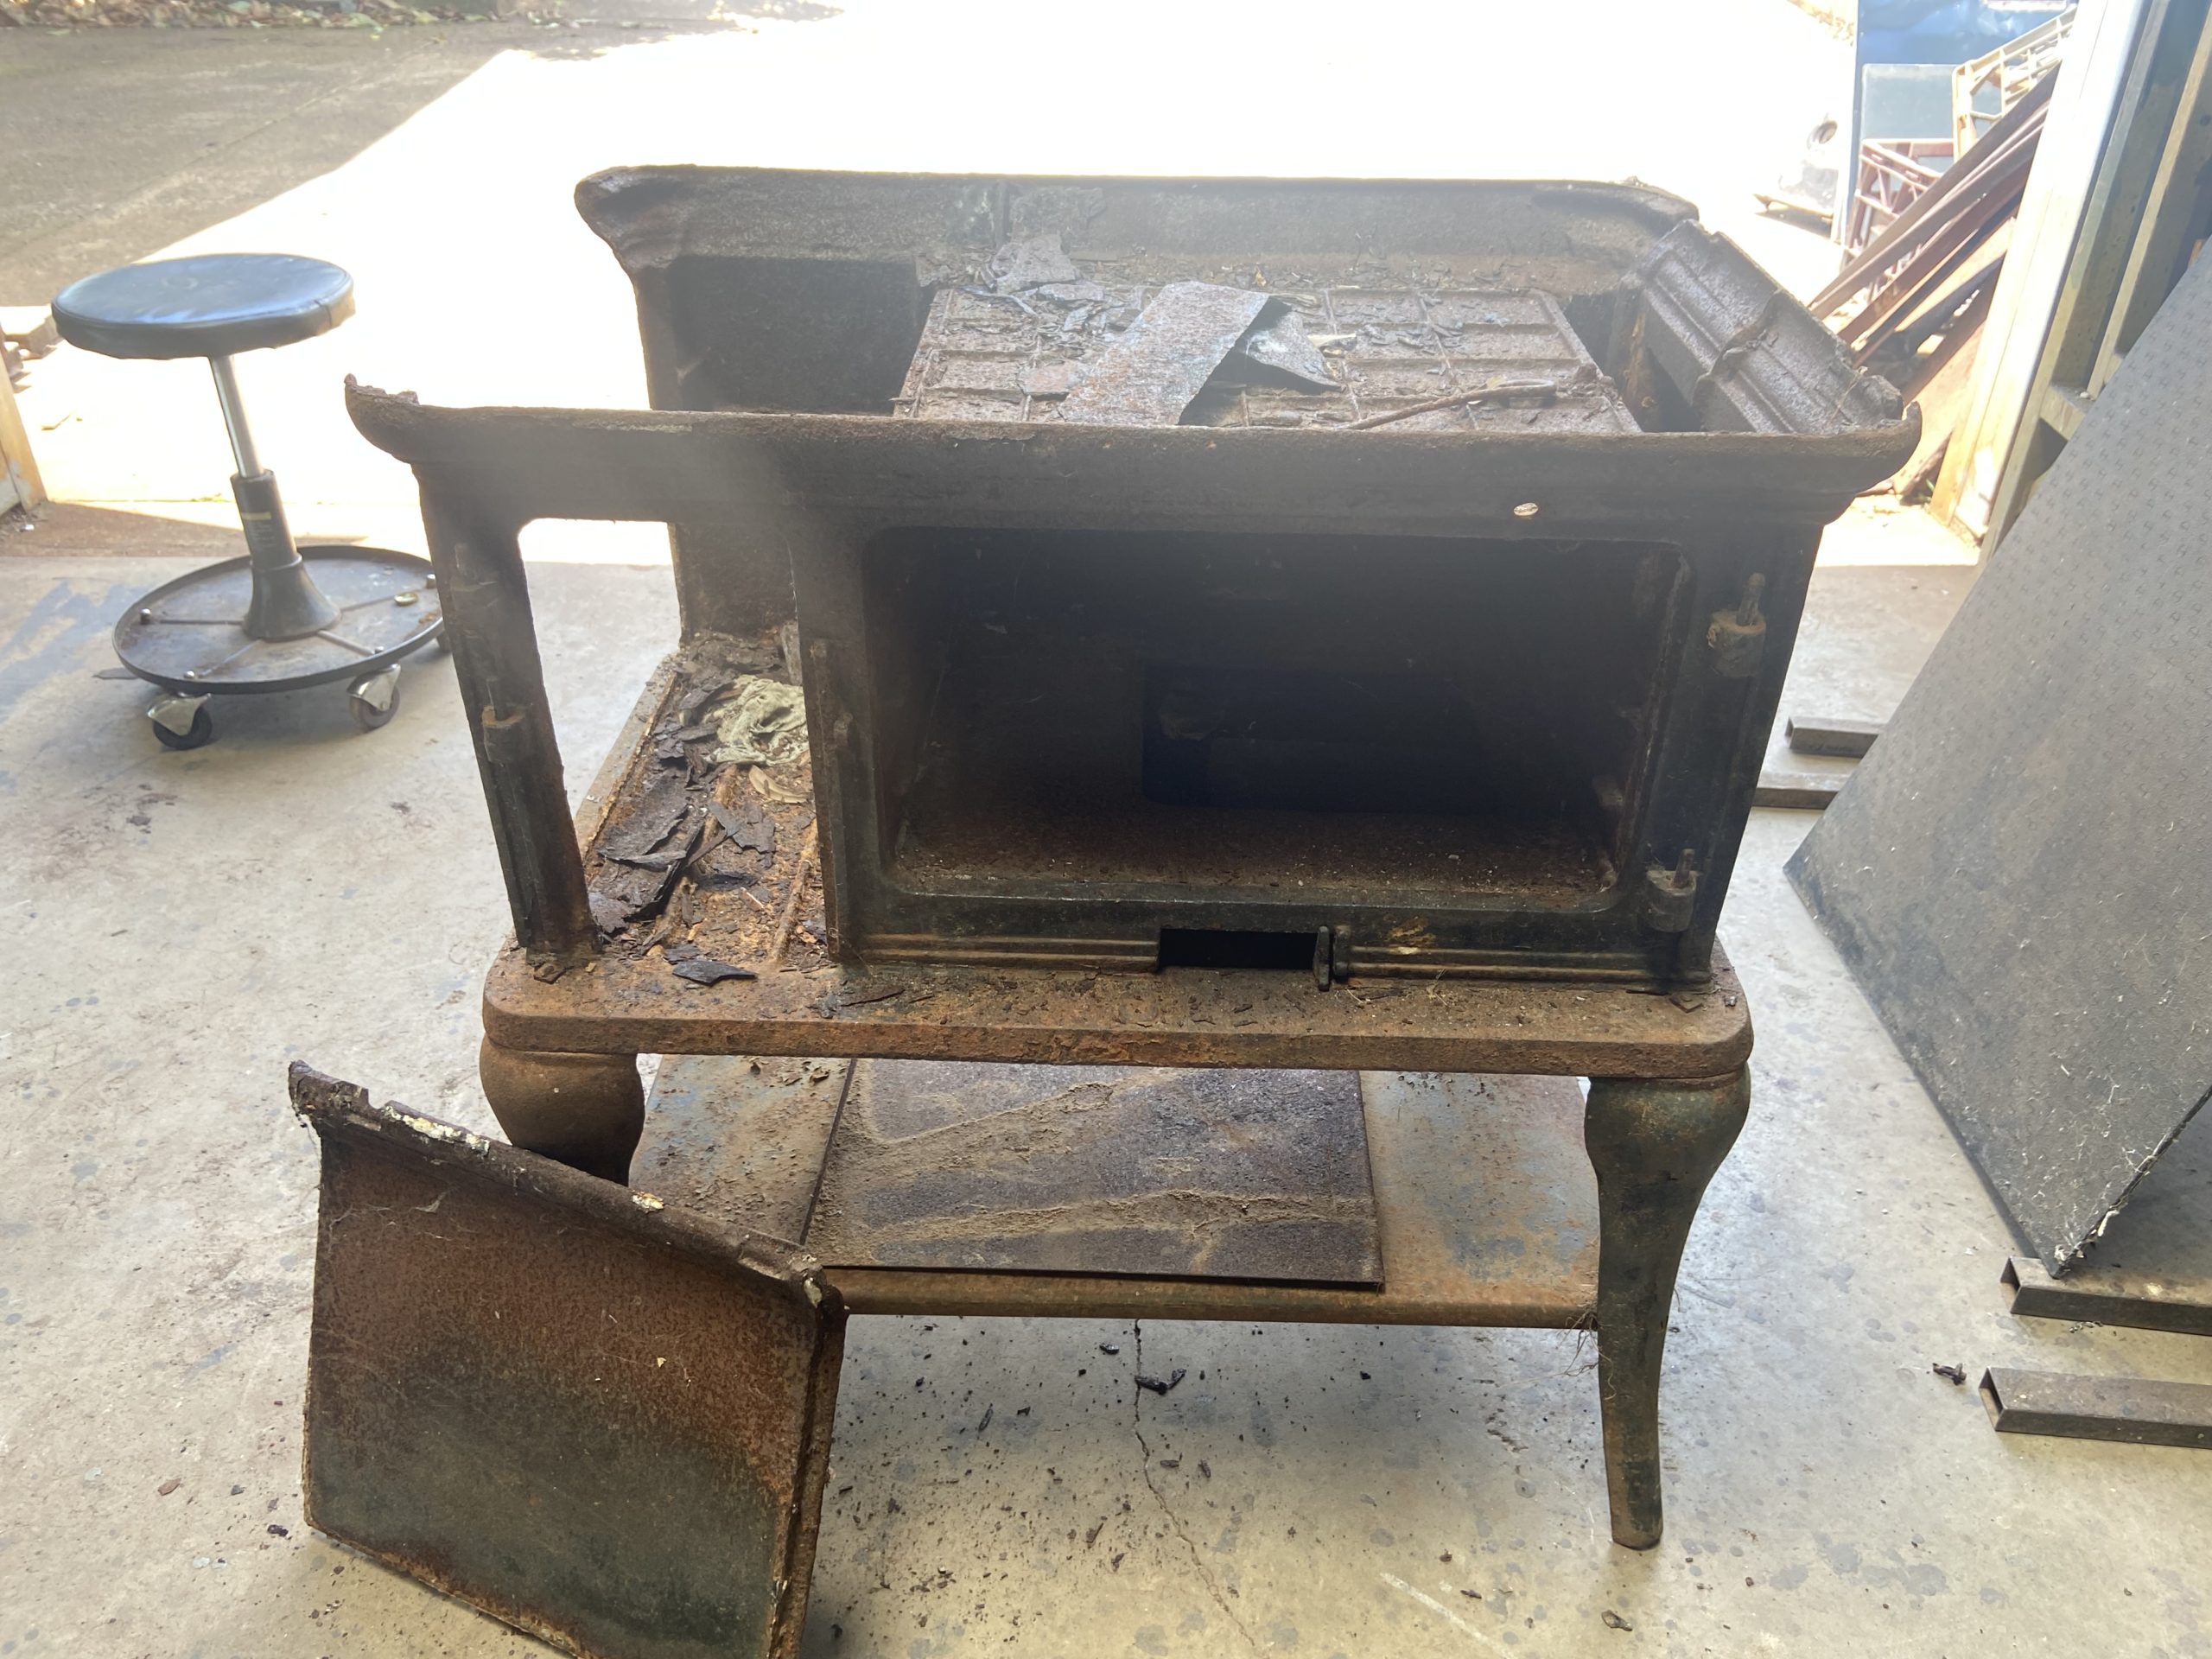
Begin by searching for a suitable stove for restoration. While it might be tempting to go for the first available option, remember that appearances can be deceptive. A stove that looks okay might have underlying issues, revealed only upon disassembly.
b. Assessing Damage and Costs:
Examine the stove for cracked tops, damaged enamel, and the condition of cast-iron front and rear panels. Replacing these components can be costly, especially enamel, which is often more economical to brush touch rather than completely redo.
Step 2: Disassembling the Stove
a. Preparation:
Equip yourself with the right tools and expect to encounter challenges like stuck screws and bolts. Drilling and grinding might be necessary to dismantle the stove successfully.
b. Organizing Components:
As you disassemble, organize the parts systematically to avoid confusion during reassembly.
Step 3: Sandblasting Process
a. Evaluating Necessity:
Although time-consuming, sandblasting is an effective way to clean the stove parts. Avoid sandblasting the components with existing enamel that you intend to preserve.
b. Professional Assistance:
If sandblasting seems daunting, consider seeking professional assistance to ensure the job is done right.
Step 4: Cleaning Enamel Components
a. Choosing the Right Cleaner:
Use oven cleaner to clean the enamel parts effectively. The more caustic the cleaner, the better the results, but exercise caution to protect your lungs and skin from irritation.
b. Safety Measures:
Always work in a well-ventilated area and wear appropriate protective gear when handling caustic cleaners.
Step 5: Dealing with Chrome Parts
a. Evaluating and Budgeting:
Restoring chrome is expensive but vital for authenticity. Painting over chrome results in a less-than-desirable finish. Allocate around $1000 for restoring chrome components.
b. Era Consideration:
Note that later models may lack chrome, as manufacturers reduced ornate details over time to cut costs.
Step 6: Assessment and Repairs
a. Identifying Broken Parts:
Once cleaned, assess the stove and identify parts that need replacement or repair. Some components might be rare, necessitating sourcing from multiple stoves or specialized suppliers.
b. Sourcing Parts:
Contact reputable suppliers for parts availability. Be prepared for possible waiting periods, especially for rare components.
Step 7: Acquiring New Parts
a. Budgeting for Replacements:
Allocate funds for acquiring new parts. Budget around $1000 for a top replacement, and be prepared for potential wait times if new castings are required.
b. Sheet Metal Fabrication:
Ovens often require full sheet metal fabrication. Engage a sheet metal shop for this task, budgeting approximately $1000 for the service.
Step 8: Painting
a. Choosing the Right Paint:
Opt for pot belly black heat-resistant paint, available in brushed or sprayed forms. This type of paint can be found at stores like Bunnings but may be somewhat expensive.
b. Application Techniques:
Follow the manufacturer’s guidelines for paint application to ensure a durable and appealing finish.
Step 9: Reassembly
a. Using New Screws:
Start reassembling the stove using new screws. Each stove model may have specific needs at this stage.
b. Sealing and Insulation:
Ensure proper sealing with cement and rope for doors and hot plates. Install insulation inside for slow combustion stoves to prevent smoke leakage.
Step 10: Attaching Accessories
Attach any available accessories like plate racks and backsplashes to enhance the stove’s functionality and aesthetic appeal.
Step 11: Final Thoughts
a. Understanding Restoration:
Recognize that restoration goes beyond cleaning and painting. Every process has a specific way it needs to be done to preserve the stove’s originality.
b. Beware of Misrepresentation:
Be cautious of sellers misrepresenting cleaned and painted stoves as fully restored. A genuinely restored stove retains its authentic charm and functionality.
Conclusion
Restoring a wood stove is a labor of love, requiring patience, skill, and attention to detail. By carefully selecting a stove, meticulously disassembling, cleaning, repairing, and reassembling it, you can revive a piece of history and enjoy the warmth and ambiance of a fully restored wood stove. Keep in mind that this is a basic guide, and each stove will present its unique challenges and rewards. Enjoy the journey, and bask in the satisfaction of bringing an old wood stove back to life!
Disclaimer – don’t blame us for your inability to restore a stove. Each stove model is different and requires a different process and level of expertise.
Recent Posts
Crown Wood Stove New Hot Plates New hot plates for Crown wood stove, $60 each, replace those pitted old ones. Suit Crown no.1 no.7 no.8 no.2 Measurements shown, if wanted to see if they...
Introduction Wood stoves have long been an integral part of Australian homes, offering warmth, ambiance, and a reliable heating source during cold seasons. With the growing appreciation for...

